MFOS Ultimate/Expander Keyboard Synth
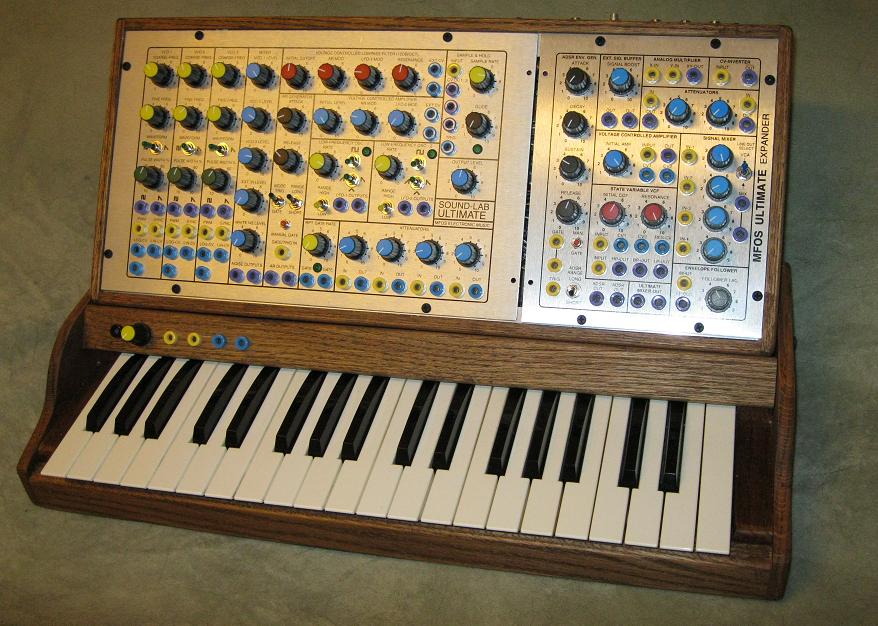
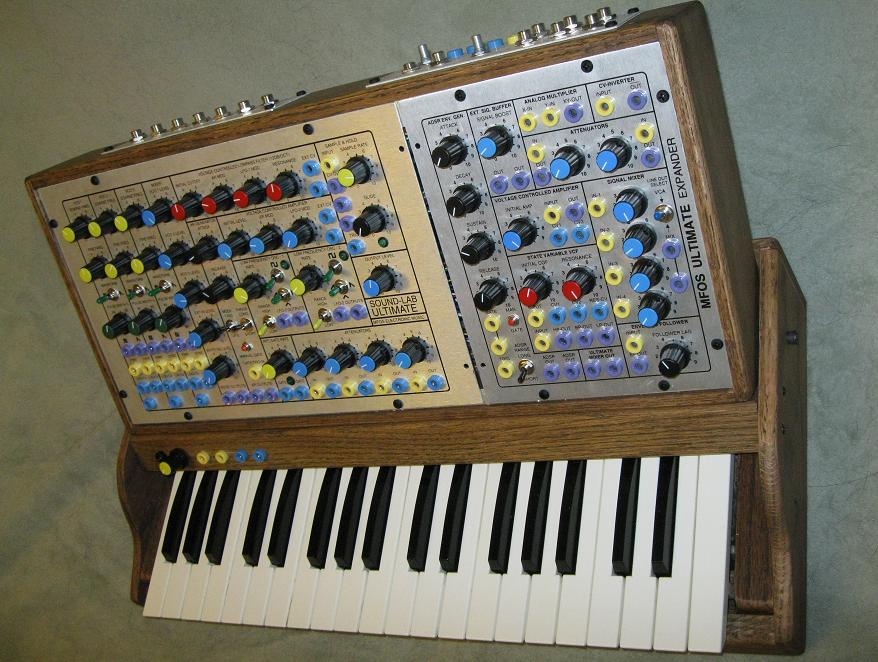
Just about finished - December 2010 - A few bits of trim to add & not varnished yet.
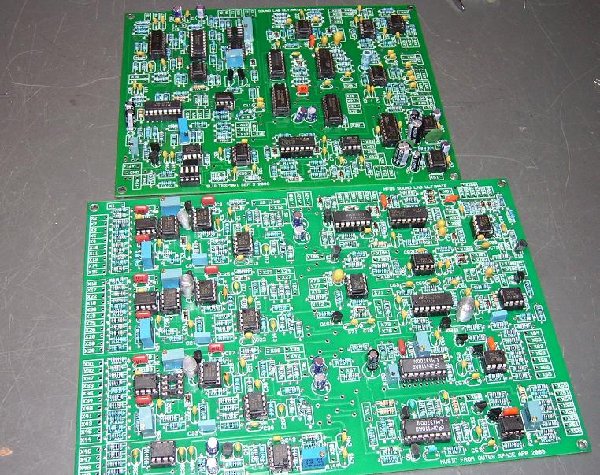
I picked up a couple Ray Wilson MFOS boards - The "Ultimate" and "Ultimate Expander" - and since he had such nifty panels available I picked those up as well.
I sat on them for a few months - and decided to start building in the early Summer of 2010. After populating the boards, I decided I had
better use the nice weather for outdoor pursuits, and set them aside til worse weather....
In late November I started again, and finished the project in Late December. I spent the majority of the build time on the woodwork.
I started the project expecting to build a portable keyboard synth with ability to patch (Banana Plugs) and with an integrated keyboard. I had envisioned a minimoog sized
instrument with a fold down control panel, and had thought I would be able to add a sequencer and perhaps a joystick.
As I worked on the project I realized the sequencer and joystick
were going to be tough to include and keep the size manageable, so I dropped those ideas. It's still a very capable synth -
Soundlab Ultimate
Three Musically Accurate VCOs (sawtooth and variable width rectangular wave forms, pulse width modulation, hard-sync, log and linear CV inputs)
White Noise Generator
Active Mixer (for VCOs, noise and external input)
Voltage Controlled LP Filter (12db/Oct doubles as a sine wave oscillator)
Voltage Controlled Amplifier (log response)
Attack Release Envelope Generator
Two Low Frequency Oscillators (square, ramp, tri and sawtooth waveforms)
Repeat Gate Generator (doubles as another square wave LFO)
Sample & Hold
Attenuator Bank
Patch Panel Design
Ultimate Expander
A State Variable Voltage Controlled Filter (doubles as a 1V/oct sine wave oscillator over several octaves)
A Voltage Controlled Amplifier (expo response)
An ADSR Envelope Generator
A Four Channel Active Mixer
A One-In Three-Out Voltage Distributor
CV Inverter
An Analog Multiplier (Ring Modulator)
An External Signal Buffer
An Envelope Follower
Two Passive Voltage Attenuators
A Headphone Amplifier
Signal Routing and Buffering for The Sound Lab ULTIMATE
Patch Panel Design
Keyboard Controller
One Volt Per Octave
Four CV outputs
Two Outputs With Glide
Trigger and Gate Outputs
As I started building it was still an evolving idea - I had a rough idea of what I wanted it to look like when I was done, and engineered it as I built.
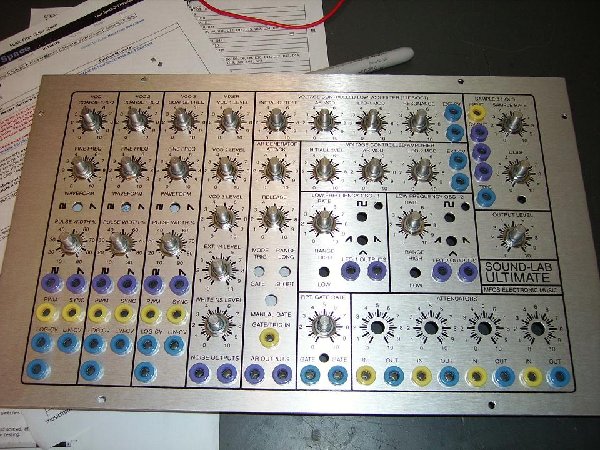
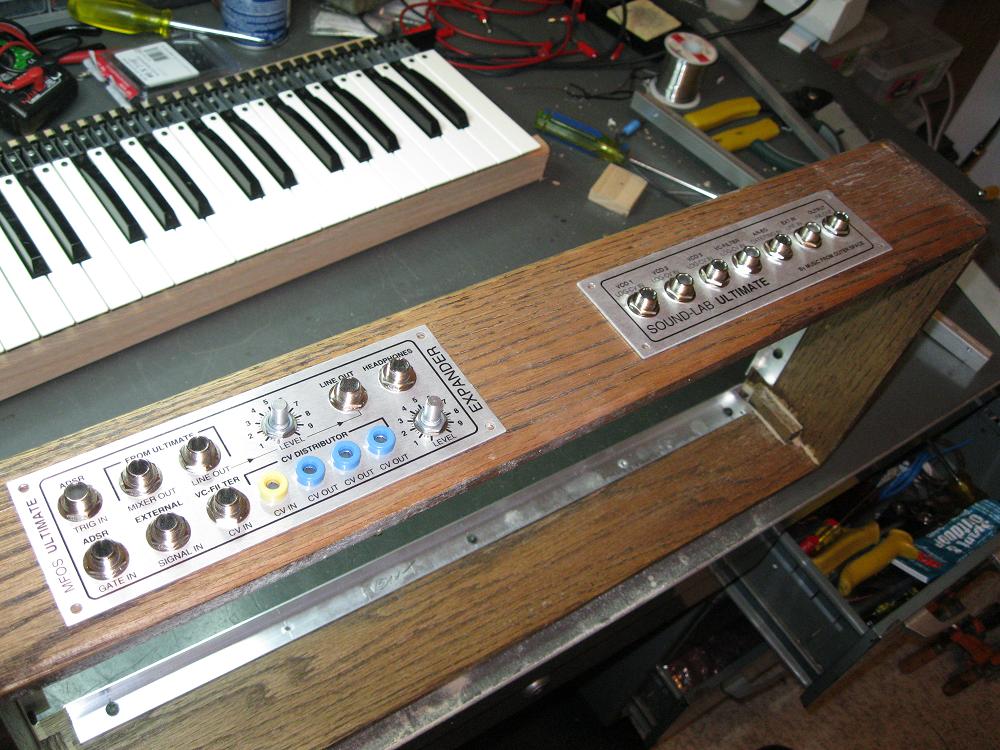
I got the Pots and Jacks mounted - Just missing a few 10 K pots I missed on the BOM. Switches will be mounted next - and then started the common ground wiring on the back of the panels.
I got all the panel holes filled, all the IC sockets are providing homes for all the IC's.
The power supply will be a perfboard version of Ray Wilson's "WallWart Bi-Polar supply - it's still in the parts bin - but that's a quick build.
Just build a case, do all the flying wires and I'm done...right?

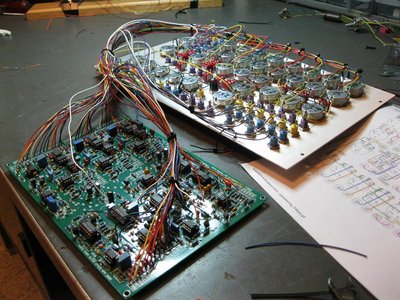
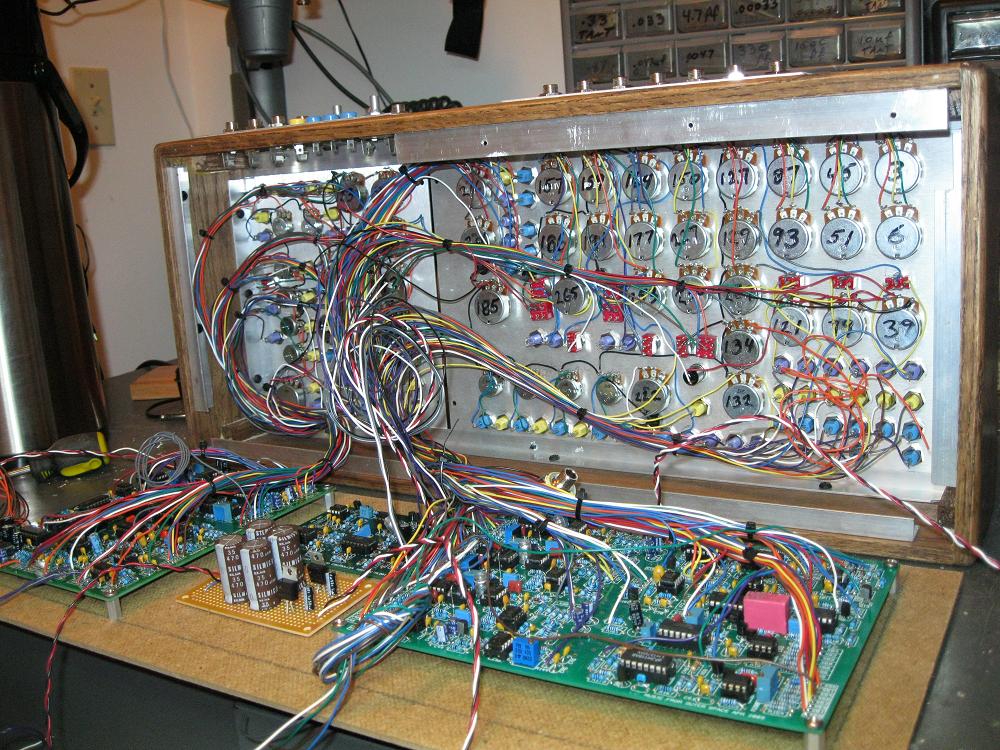
I started the flying wires connecting the Ultimate board and panel.
I got the VCO's wired and a couple other bits - there are a ton of wires on this thing.
I'll chip away at this then start on the Expander and keyboard assembly.
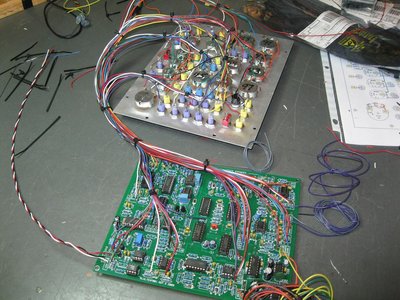
"Ultimate" all wired up and powered up for the first time....
VCO 3 was not working initially - turned out to be a bad TL072. VCA did not work - I had placed a 1.8 ohm resistor rather than 1.8k resistor in the VCA circuit... Oops. Considering the size of the project I was pleased with those being the only issues.
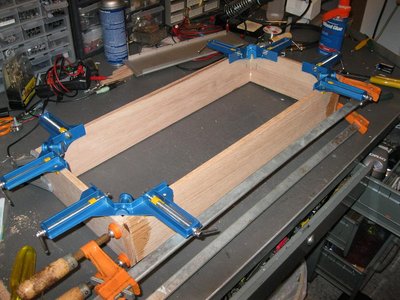
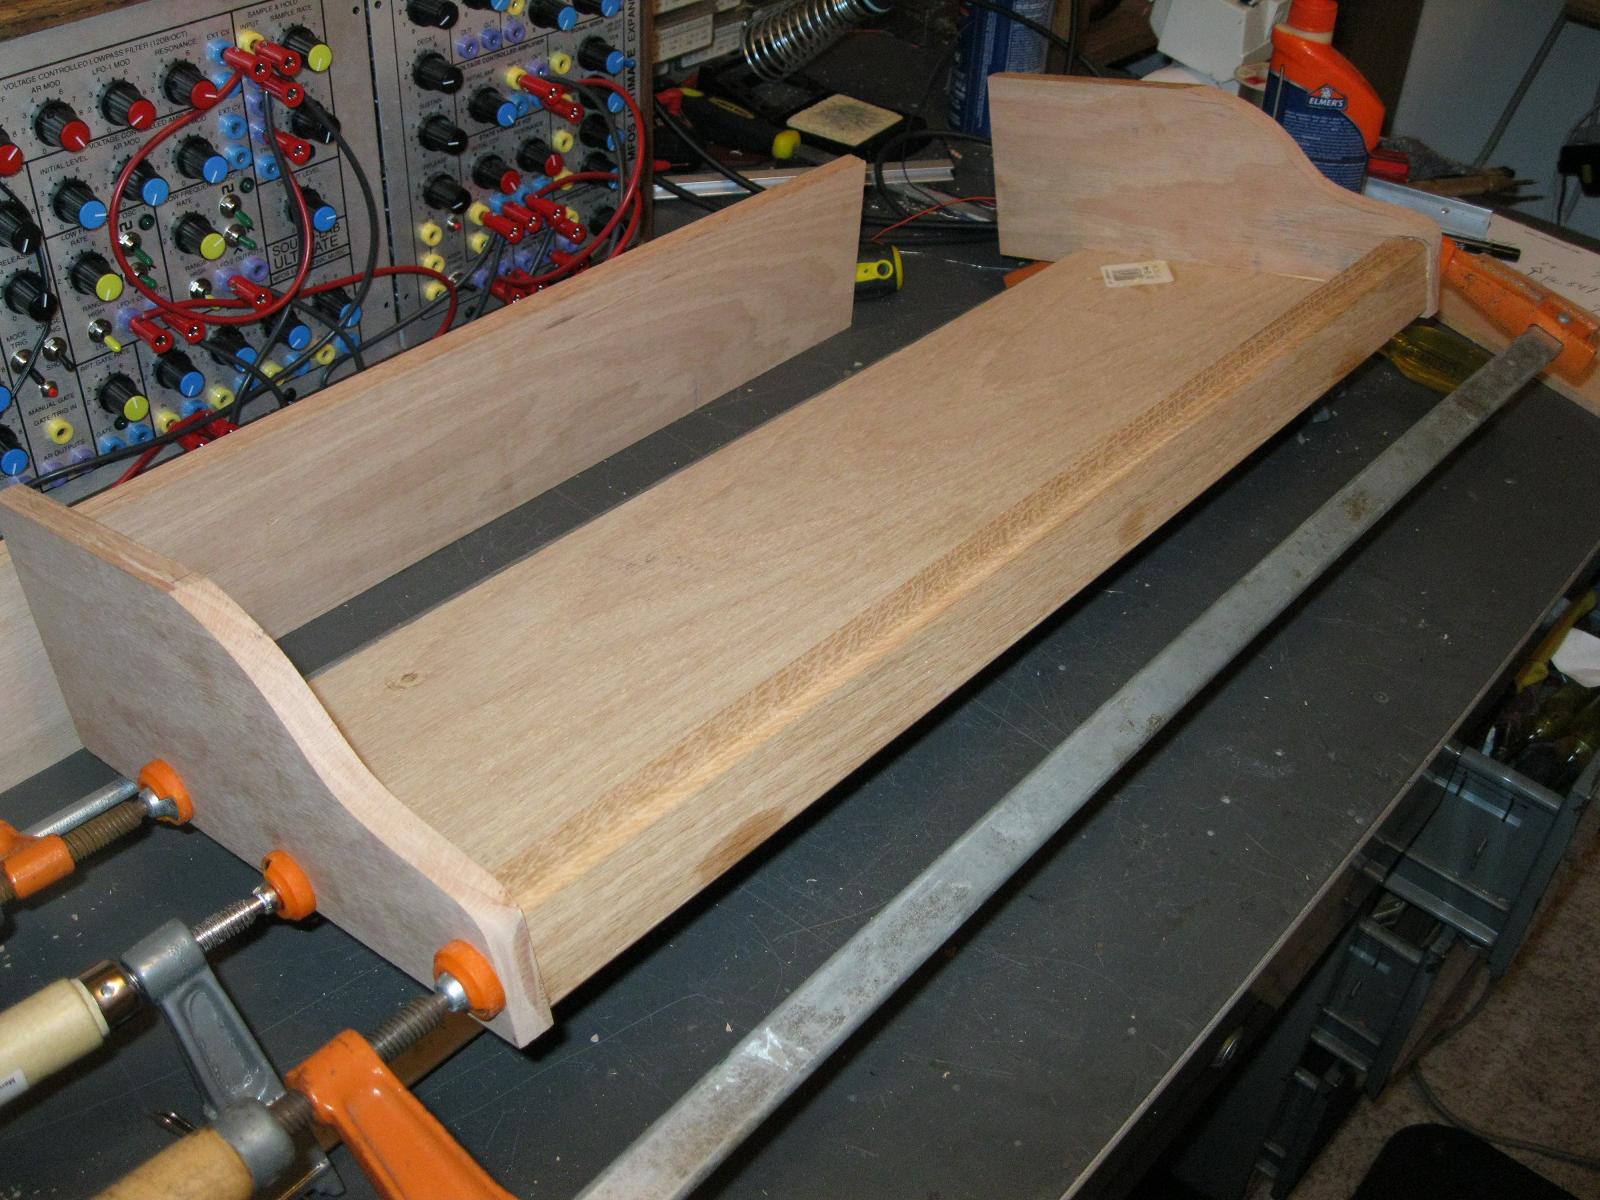
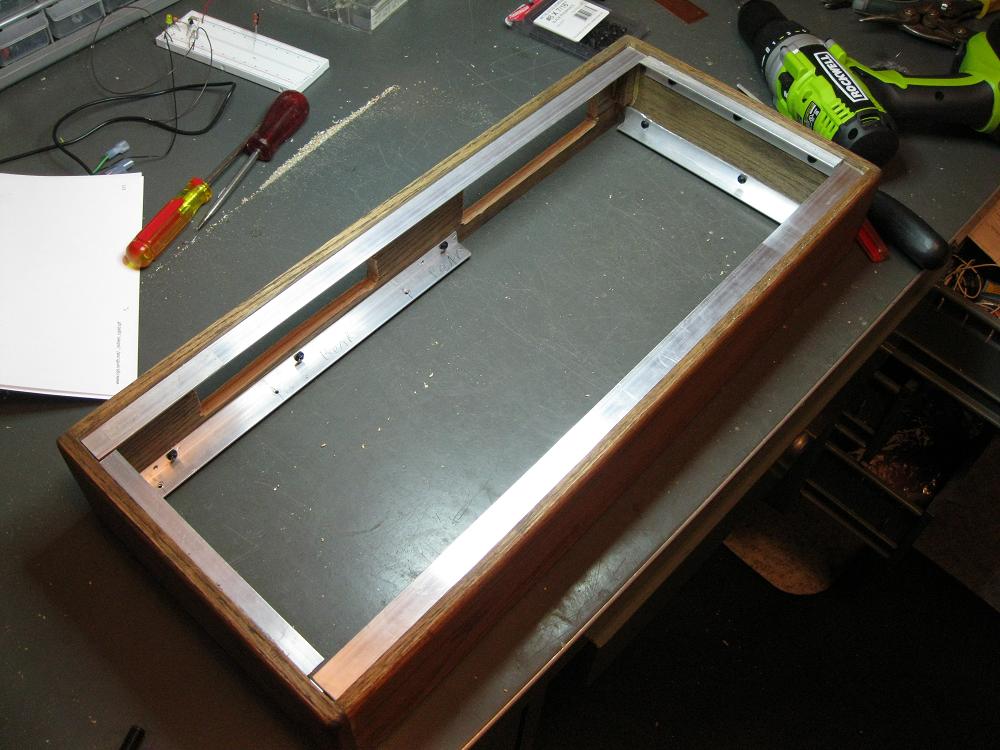 I used Oak for the case and mounted aluminum "L" stock around the edges for the front and rear panels. I used a "Dark Walnut" stain
on the Oak.
I used Oak for the case and mounted aluminum "L" stock around the edges for the front and rear panels. I used a "Dark Walnut" stain
on the Oak.I started on the flying wires for the Aux panels and got the PC boards mounted to the back panel. I used masonite for the back panel.
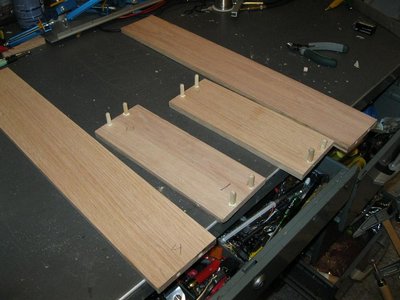
With the electronics pretty well done, I started on the keyboard case
I spent quite a lot of time trying to figure out how to attach the synth unit to the keyboard.
I was initially looking for a fold down panel so I could easily transport the synth, but it became clear
that was going to increase the complexity and size, so I decided to 'dock it', but with the ability to remove
a couple bolts to allow removal of the synth unit.
Once that decision was made they keyboard case went together quickly.


Each has it's own power supply built in, but they operate from one supply while mated.
I built a small monitor amp (LM386) and speaker into the case - it's certainly not very loud, but allows me to
play it (in a quiet room) without an additional amp, or having headphones on.
I'm quite happy with how the project turned out.
The VCO's were easy to calibrate to 1 volt/octave, and the keyboard
works quite well.
It sounds great, stays in tune - and is very fun to play.
DIY Modular Synth Overview
DIY Electronic Instruments
Elektor Formant
Circuits & Links
Klee Sequencer
A@yahoo.com or PM me at Electro-music.com, nick = RF